Yes, we have been wanting to test the waters of Aquaponics here at CHS(pun definitely intended!!)
Our set up?
NFT (Nutrient Film Technique)
There are many amazing ways to pull off Aquaponics, but NFT was most natural to our space, purpose and given materials.
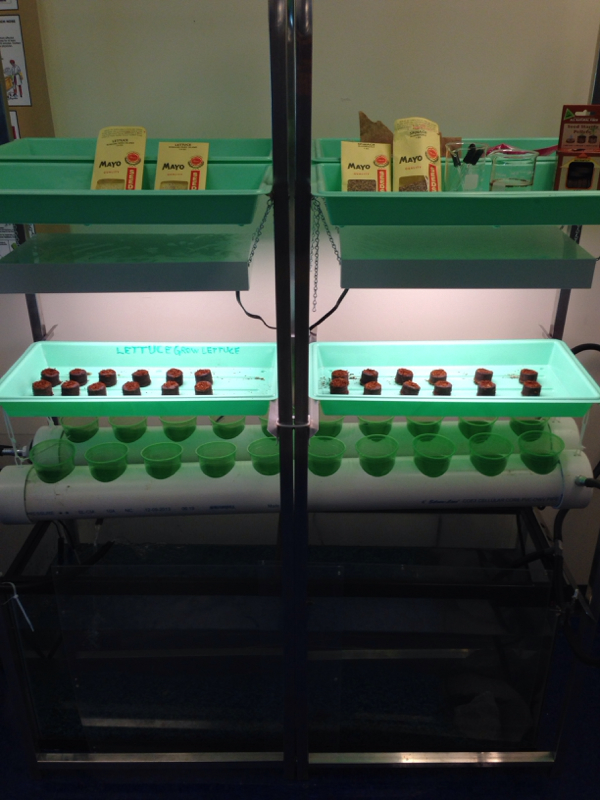
This will allow for an amount of water to be pumped into our grow beds continuously, dumping back into the aquarium that holds the fish. We used some grow stands that had uv lights and modular tray holds built in. These towers gave us a great skeleton to work with a gravity fed system.
We started with a donated 55 gallon aquarium from local science supporter Darlene Bailey and garnished with donated 4in PVC from a student in my Physical Science class. Now on to business! (Students in the pictures are CHS senior, David Peursaul and ChS freshman, David Donan)
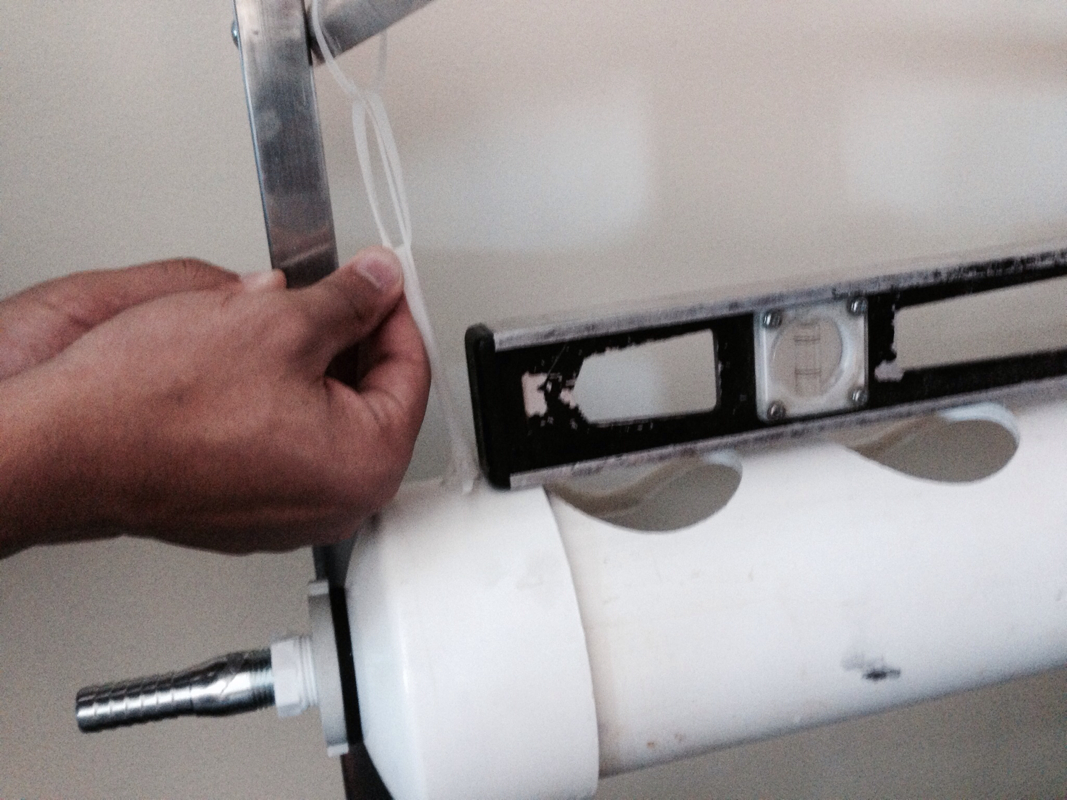
Step 1- Cap the PVC and drill planting holds with a 3.5in holesaw
Step 2- Round up a small hobby strength fountain pump and plan your flow strategy.
(Many plans use a tube flowing into a PVC pipe that is doubled over in a "U" shape with end caps. We split the intake flow into two tubes through a t-fixture so we could hang our NFT pipes closer than a "u" pipe adapter would allow. This also makes the whole system more customizable, as we can add more stands and NFT pipes while using the same amount of water flow)
Step 3- Mount your fixtures of choice to attach your intake and outflow tubing to the main PVC NFT pipe. We drilled our intake higher than the water level and our outflow was placed in the center of the endcap. This is to avoid a total draining if the pump malfunctions or power is lost in the building.
Note: We used black landscaping tubing to avoid algae build-up on the inside of out pipes! This may still be more of an issue in outdoor systems
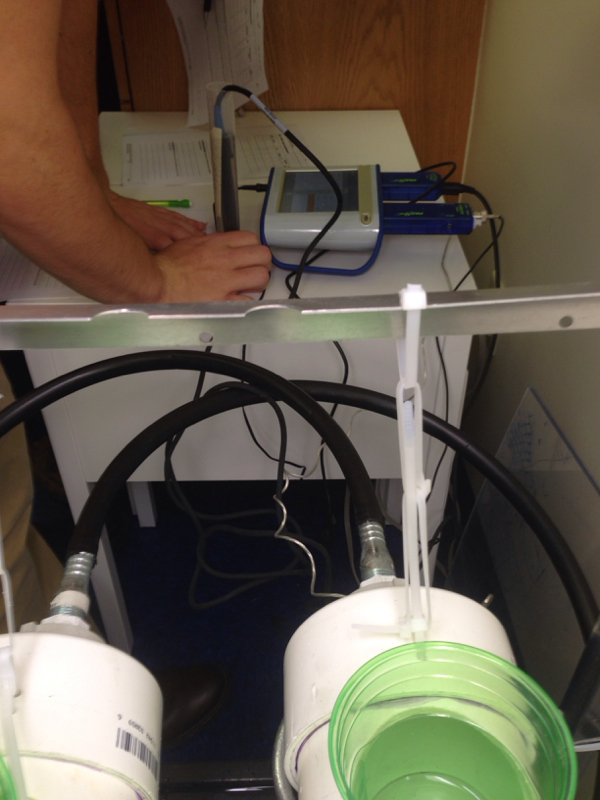
Step 4- Monitor levels! We tested for chlorine, pH and dissolved oxygen with our classes. We even compared with a local stream that holds fish. (We will test nitrate levels regularly when our fish make their appearance!)
We are lucky enough to use some chem. probes that we have in the science department!
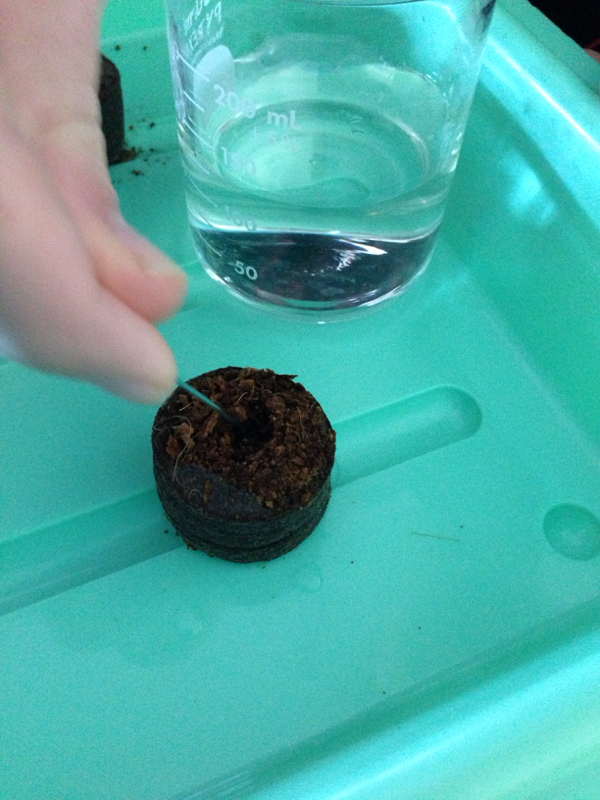
-Step 5- Start your seeds!
(Disclaimer: We decided to use peat-moss seed starting pucks to get our crops of Lettuce and Spinach going before we plant them in the cups. There are much better seed starter systems for hydro and aqua- ponics but these were the easiest to obtain. We will take great care to break the peat up before we drop them in the cups. Peat-based seed starters are risky because they may crumble and clog the system. We have an oversimplified demo model with one port for outflow so there is not much we are going to risk with a little sediment but more complex systems may want to stay with rockwool sponges.)
Step 6- Time your lighting. If working with lamps, grab an automatic timer and try to recreate the optimum lighting for your chosen crop.
 RSS Feed